
Inspiring others to celebrate every day in every way!
Join the Newsletter!
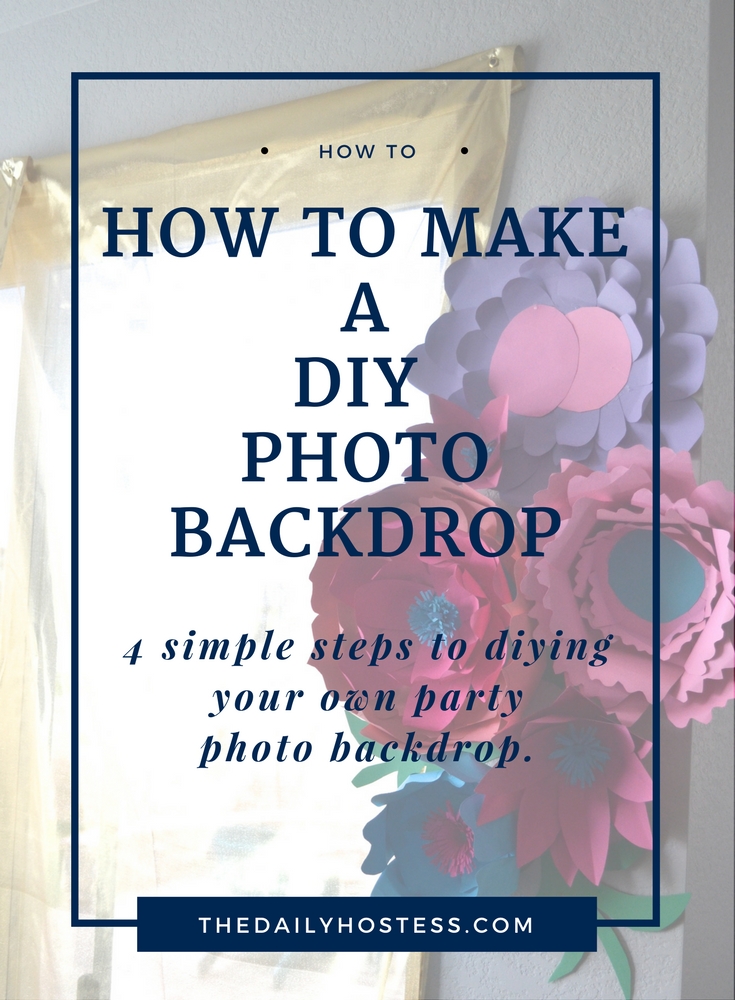
How to Make a Quick Photo Backdrop
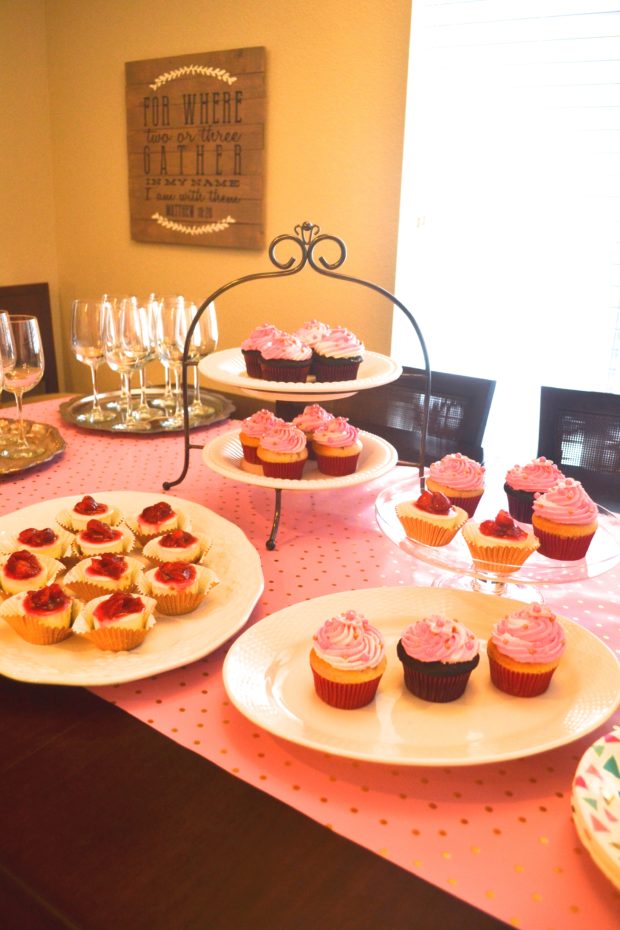
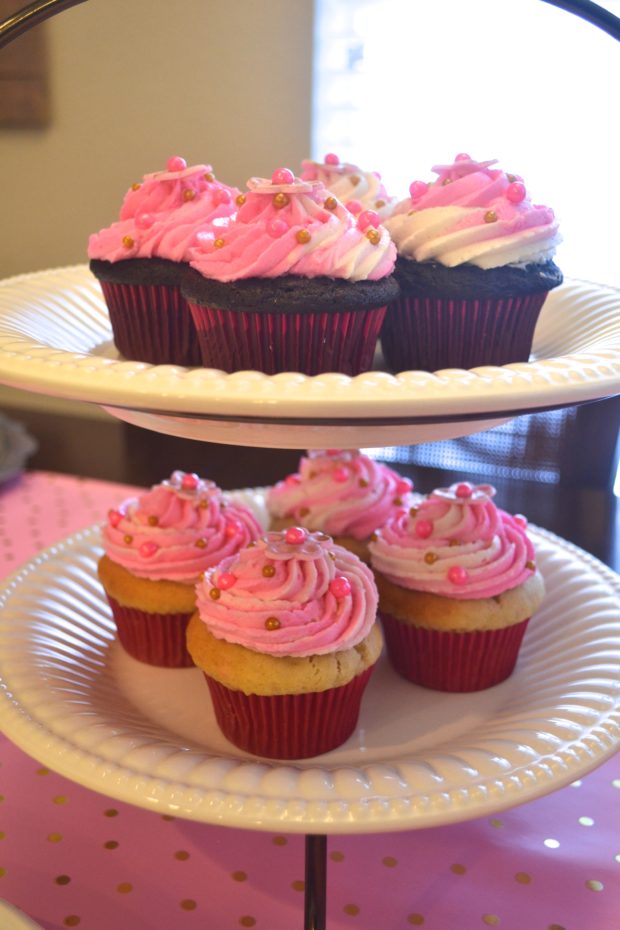
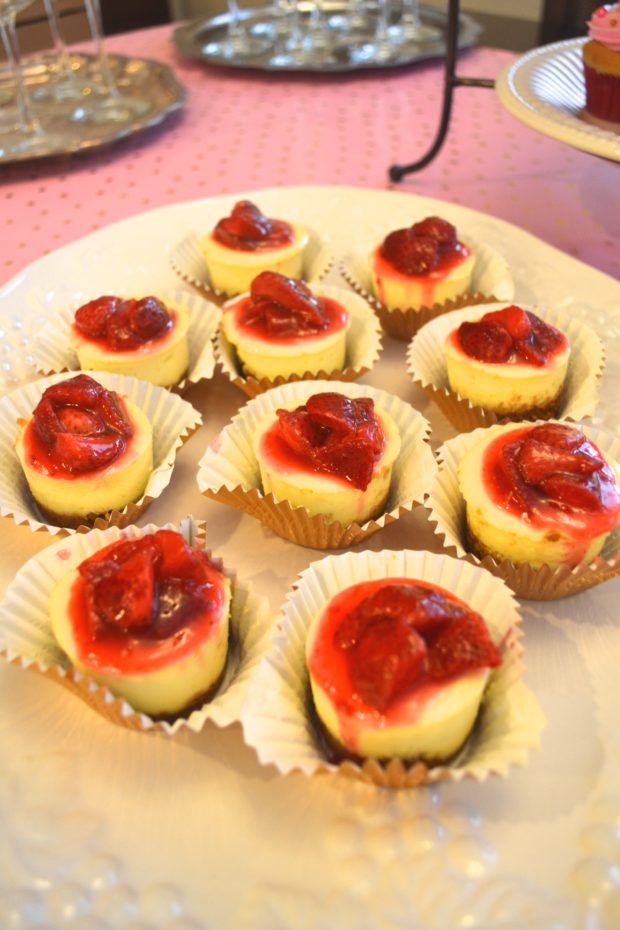
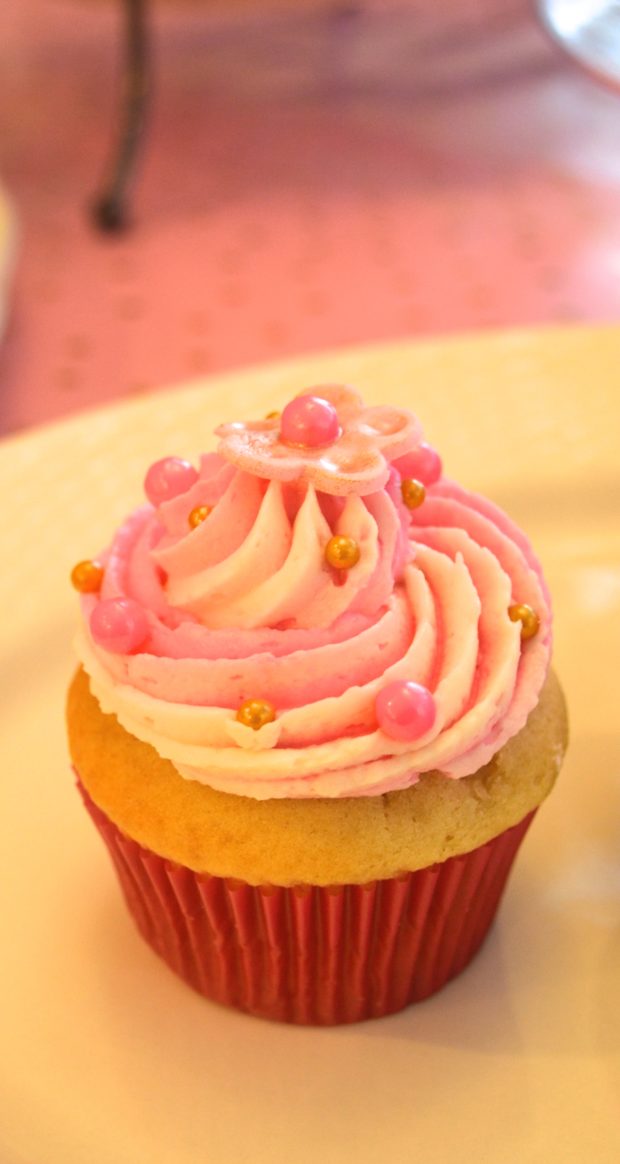
I recently celebrated one year in business and I threw a girls night party with a fun photo backdrop. There were also lots of cupcakes, mini cheesecakes and cookies. Plus, I mixed up a delicious, spring time, strawberry rose sangria. There was also a non-alcoholic drink that was equally delicious. A cucumber orange sparkling lemonade, yum!
Here are a few pictures from the party, then we’ll get into all the details for a simple diy photo backdrop.
 So, this may be the simplest photo backdrop ever, but I thought I’d share it with all of you. It’s basically four easy steps.
First, find a doorway you want to use as your backdrop area. The area should be well lit so the pictures turn out great.
Second, find the fabric you’d like to use for your backdrop. I highly recommend getting fabric that is thick and not sheer. It will work best for your backdrop. Be sure to measure your doorway so you know how large of a piece of fabric to get.
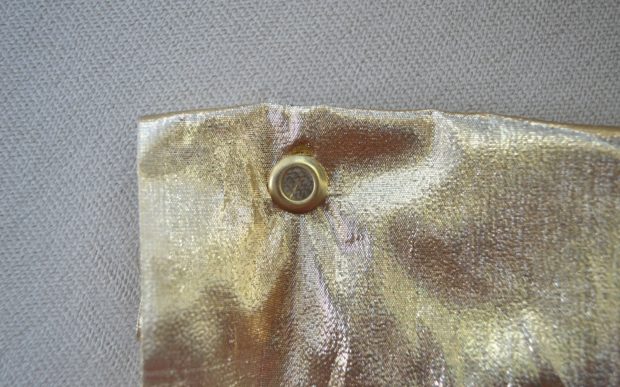
Here are the supplies that you’ll need for the next step in this simple process.
- Hole Punch
- Grommets
- Grommet Tool
- Hammer (not pictured)
 Then, add grommets to the corners of the fabric at the top. This is the hardest part of the process, but it’s not actually that bad. Use a hole punch or even just scissors to cut a small hole in your fabric where you want the grommets. Then following the instructions on the grommet package add the front and back pieces of the grommets. When you’re done you should have a nice sturdy hole to hang the fabric on.
 Lastly, pop a small nail above the doorway you’re using for your backdrop, then just hang your fabric photo backdrop on the nails. Ta-da! Super easy! And the best part is that it’s not going to fall down throughout your event, like if you used tape.
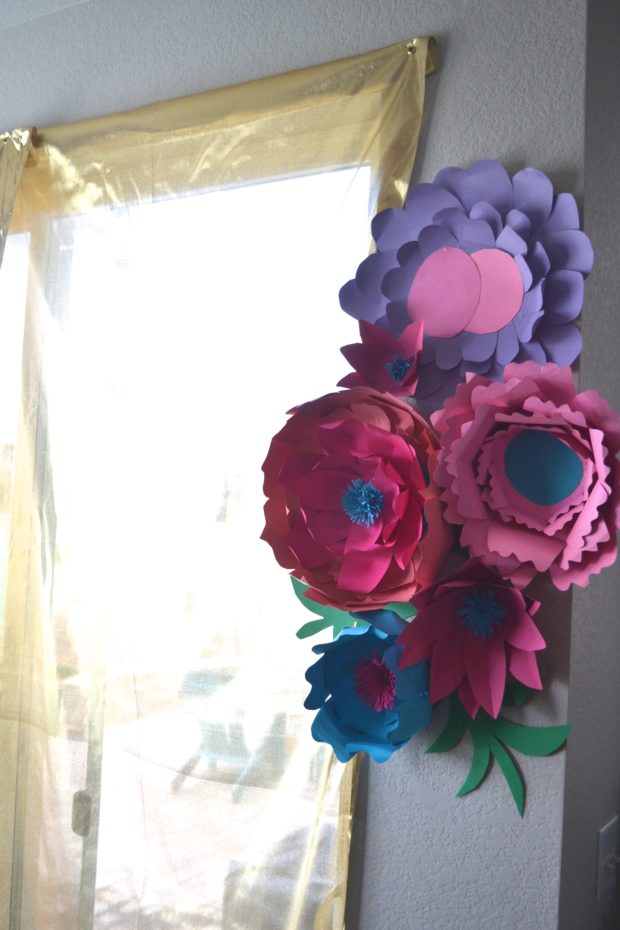 Now, don’t be worried about putting a hole in your wall. Use a small nail, and you’ll never even notice a hole when you take the backdrop down. Plus, if you do notice the hole, a tiny amount of nail filler is all that’s needed.
I love having a dedicated space for guests to take fun pictures while they’re at your party. Be sure to supply fun props like silly masks, necklaces, hats, or sunglasses. If you don’t have a dedicated photographer to take everyone’s picture all night, use a selfie stick at your photo booth for everyone to take their own.
Now, who is going to use this simple DIY and create a photo booth at your next event? I’m sure it will be a fun place to get guests involved in the party and definitely some fun photos! I hope you have a great Friday and weekend!

6 Comments
Trackbacks/Pingbacks
- Four Tips for a Stress Free Party - The Daily Hostess - […] second way to focus on one area is to make a backdrop. You can use the backdrop for a…
- Real Life Party: Virtual Princess Party - The Daily Hostess - […] I also used a gold backdrop fabric I’ve had for a long time. You can see it in this…
Submit a Comment
Meet Amy

I'm Amy, the Hostess here at The Daily Hostess and I want to encourage you to build community and connection through hosting in your home. Click below to learn more!
stay connected
recent posts
categories
archives
our feed
quick
links
BLOG
CONTACT
SERVICES
RESOURCE LIBRARY
COPYRIGHT © 2015 - 2019 THE DAILY HOSTESS, ALL RIGHTS RESERVED
WEBSITE DEVELOPMENT BY WILD SPIRIT DEVELOPMENT, LLC
be
social
That picture backdrop looks great! You could probably use command hooks if you don’t want to put holes in the wall.
I had an epic fail trying to put grommets in fabric once. Solution… just use a fabric shower curtain. Holes already there!
A fabric shower curtain might be the most genius idea I’ve ever heard of!! Thanks for the recommendation! And why are grommets to hard?
Yes that’s the first thing I thought of when I started reading how to hand them I think the command strips wound be great the come in all sizes as you know. I use them all the time for my Balloon setups. And the shower curtain is a great idea.
Thanks for your feedback and reading!
Hi
I will like to know I want to do a champagne bubble coming out the bottle how will I start it can I use fish string and work my way down is a birthday party for my son his 40 birthday but I want to put the champagne bottle with the clear balloons coming down like is slipping out the bottle
Hi Maria, thanks for your comment. That sounds like such fun birthday party decor. I would recommend using several smaller pieces of this Ladybug Balloon Decorative Strip, 25′, Clear ” rel=”noopener” target=”_blank”>balloon strip and attach them together using tape, string, or a glue dot. That way you can make the balloon garlands go in different directions. Then attach the whole thing to the champagne bottle in the same way. I hope that helps! ~Amy